Table of Contents
ToggleSmart light switches aren’t the future anymore, they’re here, and they’re making home automation accessible to any homeowner willing to pick up a screwdriver. Whether you’re tired of walking through dark hallways or want to cut energy waste, switching to smart lighting control can pay dividends in convenience and lower utility bills. The good news: installation doesn’t require an electrician or a basement full of tech gadgets. This guide walks you through the what, why, and how of upgrading to smart light switches so you can take control of your home’s lighting on your terms.
Key Takeaways
- Smart light switches reduce lighting-related energy consumption by 10–15%, delivering measurable savings on utility bills while improving convenience and home control.
- Wi-Fi switches offer the easiest setup for beginners at $30–$50 each, while Z-Wave and Zigbee switches ($25–$45 plus a hub) provide better stability and faster response times for larger homes with spotty coverage.
- Installation of home automation light switches requires basic electrical knowledge—turning off the breaker, confirming a neutral wire exists, and carefully connecting ground, neutral, and hot wires—though a licensed electrician can handle it for $150–$300 per switch.
- Smart lighting automation delivers real benefits through scheduling (morning brightness routines, sunset dimming), voice control with Alexa or Google Home, and motion-triggered scenes that prevent lights from being left on accidentally.
- Before purchasing, verify your home has a neutral wire at switch locations and decide whether to commit to one smart home ecosystem or mix compatible brands, as switching ecosystems later requires replacing the switches.
Why Smart Light Switches Are Worth the Investment
Smart light switches solve a problem you didn’t know you had: the friction between wanting lighting control and actually reaching for a phone or remote. Once installed, they let you dim lights, set schedules, and automate rooms without touching a physical switch, or even being home.
The real payoff shows up on your electric bill. Automated lighting cuts energy waste in hallways, bathrooms, and bedrooms by ensuring lights turn off when nobody’s around. Many homeowners report 10–15% drops in lighting-related power consumption after going smart. That’s not pocket change if you’re running lights across a 2,000-square-foot house year-round.
Beyond savings, smart switches improve safety and accessibility. Seniors and people with mobility challenges benefit from voice control or bedside scheduling. Families traveling or away on vacation can mimic occupancy by automating lights, deterring break-ins. Most units integrate with existing smart home ecosystems, Amazon Alexa, Google Home, Apple HomeKit, so they slot into your ecosystem without friction.
There’s also the flexibility angle. Unlike hardwired dimmer switches or old-school timer controls, smart switches work with nearly any bulb type: incandescent, LED, CFL, or smart bulbs. You’re not locked into a single product ecosystem, and upgrading later means swapping the switch, not rewiring the wall.
Types of Smart Light Switches: Finding the Right Fit for Your Home
Not all smart switches are created equal. Your choice depends on your home’s electrical setup, your budget, and which ecosystem you’re already plugged into. Understanding the difference between the main types ensures you buy the right switch the first time.
Wi-Fi Enabled Switches
Wi-Fi switches connect directly to your home internet and don’t require a separate hub. They’re the easiest entry point for beginners because setup is straightforward: turn off the breaker, swap the old switch for the new one, download the app, and connect. Popular brands offer options that work with Alexa or Google Home out of the box.
The trade-off: Wi-Fi switches are power-hungry compared to battery-powered alternatives and can lag slightly during peak network congestion. They also strain your Wi-Fi network if you install them throughout a large home. Budget roughly $30–$50 per switch, though premium models run higher.
Wi-Fi switches shine in kitchens, living rooms, and main hallways where reliability and immediate response matter. They’re also your best bet if you want to control lights remotely from your phone while away from home.
Zigbee and Z-Wave Switches
Zigbee and Z-Wave switches use a mesh network protocol instead of Wi-Fi. They require a hub (a small device that sits on a shelf or plugs into a outlet) to communicate with your phone or voice assistant, but they offer serious advantages: longer battery life, less network congestion, and faster response times.
Z-Wave is the older, more established standard with broad compatibility across smart home platforms. Zigbee is newer, faster, and increasingly popular, especially with Amazon and Philips ecosystems. Both create a self-healing mesh, if one switch goes offline, others route the signal around it.
Price-wise, expect $25–$45 per switch plus a hub (typically $50–$150 depending on features). Over time, the mesh network becomes more reliable as you add more compatible devices. Many homeowners find the slightly higher upfront cost worth it for the stability, especially in larger homes where Wi-Fi coverage is spotty.
Z-Wave and Zigbee switches work well in bedrooms, bathrooms, and secondary spaces where you’re automating schedules rather than controlling lights on-the-fly. The mesh network also supports motion-sensor integration and advanced automation routines across multiple rooms, which unlocks scenarios like “lights dim at sunset” or “turn on hallway lights if motion detected after 10 p.m.”
Installation and Setup Essentials
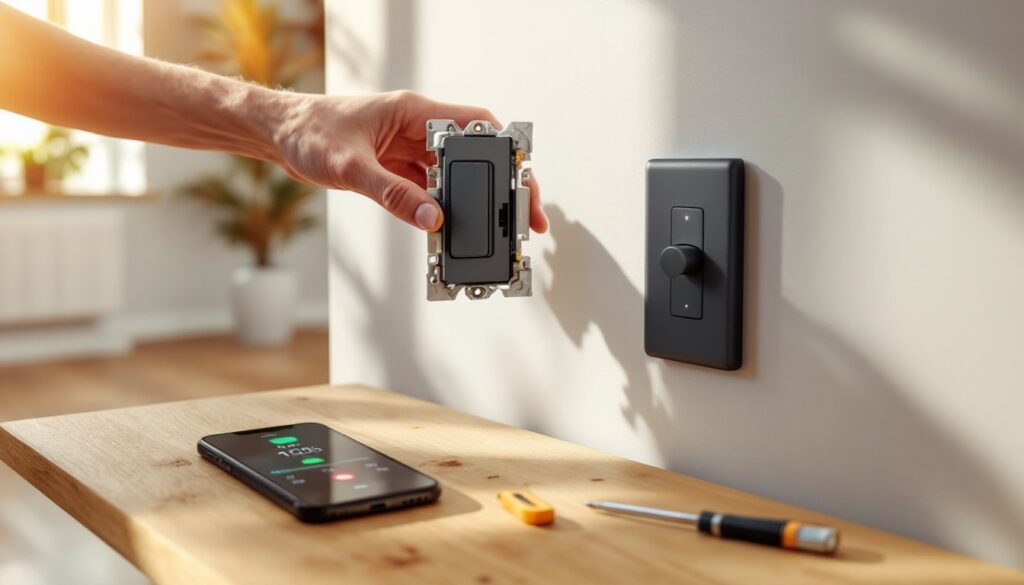
Installing a smart switch is achievable for anyone comfortable with basic electrical work, but it’s not a shortcut. Preparation and safety come first.
Before you start:
- Turn off the breaker serving the switch you’re replacing. Use a non-contact voltage tester to confirm the power is dead, don’t skip this step.
- Remove the old switch by unscrewing the wires. Note which wire is which: typically black (hot), white (neutral), and copper or green (ground). Take a photo if memory isn’t your strong suit.
- Check the wall box. Smart switches are often bulkier than old toggle switches. If your box is tight or stuffed with wires, you may need to remove existing wire nuts and redistribute cables to make room. Cramped installations cause shorts and premature failure.
- Verify your neutral wire. Many older homes lack a neutral at the switch box, which disqualifies certain smart switches. Neutral is essential for powering the switch logic: Wi-Fi and Z-Wave units need it.
Installation steps:
- Connect the ground wire (copper or green) to the green or bare screw on the switch.
- Connect the neutral (white) to the neutral terminal.
- Connect the hot (black) to the “line” or “load” terminal, depending on your switch type. Consult your specific model’s wiring diagram.
- Gently push the switch into the box. Don’t force it, wires should fold neatly, not crease sharply.
- Screw the switch to the box, then install the cover plate.
- Turn the breaker back on and test the switch physically and via the app.
Safety reminders:
- Wear safety glasses when working in a tight wall box, dust and wire fragments can irritate eyes.
- If you’re unsure about your home’s wiring, hiring a licensed electrician costs $150–$300 per switch but eliminates guesswork.
- Multi-switch setups (3-way or 4-way circuits with multiple switches controlling one light) require special consideration. Some smart switches work as “master” and “companion,” which simplifies things: others don’t play well together. Read the specs carefully.
Most switches take 5–10 minutes once wiring is sorted. App setup adds another 5–15 minutes depending on your Wi-Fi or hub connectivity.
Maximizing Your Smart Lighting Experience
Once installed, smart switches unlock automation potential that a standard dimmer can’t touch. Here’s how to get the most from them.
Scheduling and routines: Create a morning routine that slowly brightens your kitchen lights at 6:30 a.m., signaling wake-up time without harshness. Evening routines can dim living room lights at sunset, then turn on bedroom lights at 10 p.m. if motion is detected. These routines run locally (no internet required) and save energy by preventing lights left on by accident.
Voice control: Link your switches to Alexa or Google Assistant for hands-free operation. “Alexa, dim the hallway to 30 percent” beats walking to the switch every time. Voice commands also help people with mobility limitations or when your hands are full.
Scene creation: Group multiple switches into scenes, “Movie Mode” might dim the living room, turn off the kitchen, and set bedroom lights to 5 percent. A single voice command or app tap executes the whole scene, creating ambiance without fiddling with five switches individually.
Integration with other smart home devices: Smart switches talk to motion sensors, thermostats, and door locks. Pair a smart home motion sensor with your hallway lights to trigger them only when someone’s moving through. Link your front porch light to a smart lock so lights turn on when the door unlocks, improving security during evening arrivals.
Remote access and geofencing: Control lights from your phone while away, or set geofencing rules so lights turn on automatically when you arrive home. This mimics occupancy and eliminates the “arriving to a dark house” scenario.
Choosing compatible ecosystems: Before buying, decide whether you’re all-in on one ecosystem (Amazon, Google, Apple) or comfortable mixing brands. Smart home innovations that prioritize interoperability reduce frustration. Switching ecosystems later means replacing switches, so choose thoughtfully upfront.
Take time setting up automation. Most gains come from schedules and motion-triggered routines rather than daily manual control. Start simple, automate your most-used room, then expand as you learn what works.
Conclusion
Smart light switches transform how you control your home’s lighting, delivering savings, convenience, and peace of mind in one affordable upgrade. Whether you choose Wi-Fi simplicity or a Z-Wave mesh network, the installation is within reach for most homeowners, and the long-term benefits justify the modest upfront cost. Start with one room, master the basics, then expand, you’ll quickly wonder how you ever lived without them.