
Table of Contents
ToggleInstalling a range hood vent through an exterior wall is one of those projects that looks intimidating until you break it down. Most homeowners can tackle this themselves over a weekend with the right tools and a clear plan. The key is understanding where your duct needs to go, cutting a clean opening, and sealing everything so air escapes outside, not into your walls. This guide walks you through the process, from planning and material prep to the final installation and sealing.
Key Takeaways
- Installing a range hood vent through the wall requires planning the shortest, straightest duct route and checking local building codes before starting to avoid costly mistakes and code violations.
- Proper sealing with mastic sealant and polyurethane caulk around duct connections and exterior penetrations is critical to prevent energy loss, moisture intrusion, and pest entry into your walls.
- Match your ductwork size to your hood’s CFM rating—6-inch duct for hoods up to 400 CFM and 8-inch duct for high-powered 600+ CFM models—and slope horizontal runs 1/4 inch per 10 feet downward to prevent condensation buildup.
- Always use a backdraft damper on exterior vents, secure mounting brackets to wall studs rather than drywall alone, and install a header brace if cutting studs to maintain structural integrity and pass building inspection.
- Flexible ductwork should be secured every 4–6 feet with adjustable straps, kept to 15 feet or less for efficiency, and sealed with mastic rather than duct tape, which fails over time.
Tools And Materials You’ll Need
Before you start, gather everything. Running halfway through the project to grab a tool wastes time and breaks momentum.
Tools:
- Drill with bits (including a spade bit for pilot holes)
- Reciprocating saw or drywall saw for cutting the wall opening
- Stud finder
- Level
- Tape measure
- Caulk gun
- Utility knife
- Circular saw or miter saw (if cutting ductwork)
- Safety glasses, work gloves, and a dust mask (drywall dust and fiberglass insulation require protection)
Materials:
- Range hood unit (ensure it matches your cooktop size, most are 30″, 36″, or 48″)
- Ducting (typically 6-inch or 8-inch aluminum flexible duct for residential hoods: rigid duct is quieter but harder to route)
- Duct elbows and connectors
- Duct damper or backdraft damper (prevents outside air from flowing back into your kitchen)
- Exterior vent hood termination cap
- Sheet metal screws or duct tape (mastic sealant works better: avoid standard duct tape for long-term durability)
- Caulk or polyurethane sealant rated for the temperature range in your location
- Shims (if floor framing is uneven)
- Drywall patch kit (if you’re patching around the duct opening)
Material costs typically run $150–$400 depending on hood quality and ductwork length. Budget extra for unforeseen obstacles like bracing, additional elbows, or a longer duct run than expected.
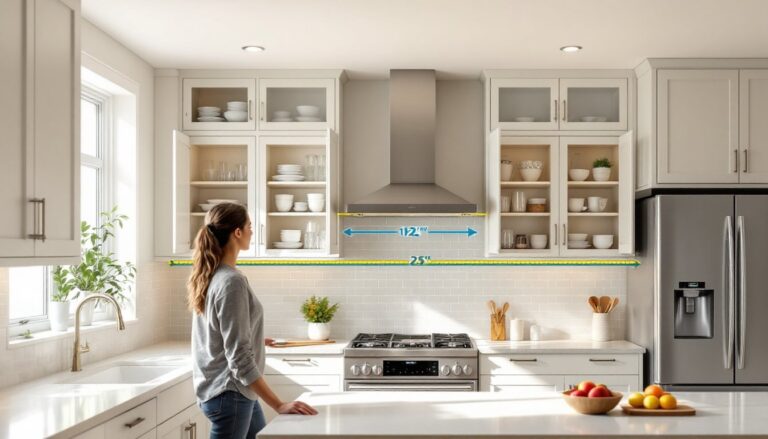
Planning Your Vent Route And Location
This is where most mistakes happen. A poorly planned route means excessive elbows, a long duct run, or venting into the attic, all reduce hood efficiency and create mold risk.
Measure from your cooktop to the exterior wall. The shortest, straightest path is always best. Horizontal runs should slope slightly (1/4 inch per 10 feet) downward toward the outside to prevent condensation buildup. If you’re going straight out through the wall near the cooktop, that’s ideal.
Check building codes in your area. Most jurisdictions require:
- Dampers on the vent termination
- Ductwork buried in walls to be non-combustible (rigid metal, not flex duct directly against studs)
- Proper clearance from combustible materials
Codes vary widely: check with your local building department before starting. Some municipalities require permits for venting work, it’s easier to ask upfront than to redo the job.
Choosing The Right Wall Type
Not all walls are created equal. Exterior walls with framing cavities are easiest, you route flex duct through the cavity and cut a single opening to the outside.
Cavity walls (standard stud framing with insulation) are straightforward. You’ll cut drywall, route duct between studs or through an opening you create, and finish the exterior. Most residential kitchens have cavity walls.
Masonry or solid walls (brick, concrete, or stone) require a different approach. Drilling or cutting through masonry demands a rotary hammer with a masonry bit and is physically demanding. If your kitchen backs a masonry exterior, consider venting upward through the roof instead, it’s often easier and still code-compliant. Roof venting requires additional flashing and slope considerations, so factor that into your decision.
If your wall is interior (backing a garage, mechanical room, or another interior space), you cannot vent there. You’ll need to extend ductwork to an external wall or the roof. Plan accordingly.
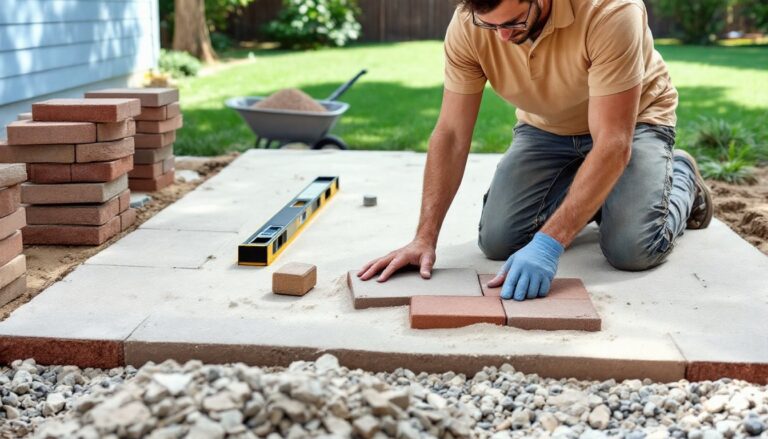
Cutting The Wall Opening And Running The Ductwork
Once you’ve located your vent point, use the duct termination cap as a template to mark your wall opening. A standard 6-inch duct requires roughly a 6.5-inch hole: 8-inch duct needs about 8.5 inches. Mark the center point and measure outward.
Drill a pilot hole from inside to outside using a spade bit. This tells you exactly where the hole will be and helps you see if you’re hitting studs, wiring, or plumbing.
From the interior, use a drywall saw or reciprocating saw to cut the opening. If you hit a stud, don’t panic, you can cut it, but you’ll need to install a short header brace on either side. Most building codes allow you to cut one stud if you add bracing: check your local code to confirm. Use a reciprocating saw with a metal-cutting blade if cutting through studs.
From the exterior, use a hole saw or reciprocating saw to finish the opening through siding and sheathing. Wear a dust mask, sawing exterior siding and sheathing creates nasty dust. Cut carefully to minimize damage to surrounding material.
Now run your ductwork. If you’re using flexible duct, push it through the opening and secure the interior end to the range hood using the provided collar and hose clamp. Smooth out kinks as you go, kinks reduce airflow and trap condensation. Routes longer than 10 feet benefit from rigid duct sections, which offer less resistance. Experts recommend rigid metal ductwork for efficiency, though flex duct is easier for tight spaces. Secure flex duct to studs or joists every 4–6 feet using adjustable duct straps, not nails or staples (these can puncture the duct).
Installing The Range Hood And Securing The Duct
Install the hood according to the manufacturer’s instructions, this varies by model. Most hoods mount on a bracket secured to the wall studs or the cabinet above. Use studs for your fasteners: drywall alone won’t support a 50-pound hood long-term.
Locate studs using a stud finder. Mark your bracket holes, drill pilot holes, and secure with the fasteners provided (usually lag bolts or screws into studs). Use shims if your wall or stovetop isn’t perfectly level: a crooked hood looks wrong and won’t drain condensation properly.
Connect the ductwork to the hood’s collar. Most hoods have a collar you slip the duct over, then secure with a hose clamp or sheet metal screws. Flex duct can go directly here: if using rigid duct, use an adapter collar.
Twist the duct to bring it to your wall opening. If the duct doesn’t reach the exterior wall opening smoothly, add an elbow or extension, don’t force it. Excess strain on connections allows ductwork to separate, and disconnected ducts vent inside your walls instead of outside.
Secure the duct to the exterior vent cap using the provided flange. Most caps attach with a hose clamp or small bolts. Ensure the damper flaps move freely, stuck dampers trap moisture.
Sealing And Finishing For Proper Airflow
Sealing is critical and often overlooked. A leaky duct or gap around your exterior vent cap wastes energy and allows outside moisture and pests into your walls.
Seal all duct connections with mastic sealant (a putty-like product used in HVAC work). Brush or spread it around each joint, then cover with a hose clamp for flex duct. Skip duct tape, it fails over time as temperature swings crack the adhesive. Mastic stays flexible and lasts. You’ll find it at any home center in the HVAC section.
Seal the exterior penetration with polyurethane sealant or exterior caulk. Run a bead around the vent cap flange where it meets the siding or sheathing. This prevents rain from migrating behind the cap and water-sealing your wall cavities.
If you cut studs, install a header brace (a short 2×4 on either side of the opening, running perpendicular to the studs). Secure with bolts or lag screws. This maintains structural integrity and satisfies code inspectors.
Patch interior drywall around the duct opening if needed. Caulk, tape, and mud the seams where new drywall meets old. This seals the air leak, unsealed drywall penetrations cause conditioned air to escape.
Test your hood. Turn it on and feel for vibration and noise. A well-sealed, properly vented hood should run quietly. If you hear whistling or feel back-drafting (air pushing back), check your damper and connections. Family Handyman offers troubleshooting tips for common hood issues if performance seems off.
Common Mistakes To Avoid
Undersized ductwork. A 6-inch duct is adequate for most residential hoods up to 400 CFM (cubic feet per minute). High-powered hoods (600+ CFM) need 8-inch duct. Check your hood’s specifications and match accordingly.
Excessive duct length without proper support. Flex duct over 15 feet loses efficiency. If your duct run is long, use rigid sections and dampen vibration with vibration isolators where the duct attaches to the hood.
Venting into the attic. Some older installations do this, don’t. Humid kitchen exhaust condenses in cold attics, causing mold. Always vent to the exterior.
Forgetting the damper. Without a damper, outside air flows back into your kitchen when the hood is off, wasting conditioned air and letting in cold drafts in winter.
Skipping the header brace if you cut studs. You’re reducing the wall’s load-bearing capacity. Add the brace: it takes 30 minutes and prevents sagging or cracking drywall months later.
Cheap ductwork or poor connections. A $20 flex duct from a big-box store and loose hose clamps fail fast. Invest in quality aluminum duct and mastic sealant. You’re building something you’ll live with for 15+ years.
Not sloping horizontal ductwork. Even a slight downward slope (1/4 inch per 10 feet) toward the exterior prevents condensation from pooling and dripping back into your hood. It’s a small detail with big consequences.